Create Chain of Custody (COC) forms and export them to Microsoft Excel or to an EDD that may be opened in EQuIS Data Gathering Engine (EDGE). The COC can also be printed in PDF, instead of Microsoft Excel.
The SPM COC Manager
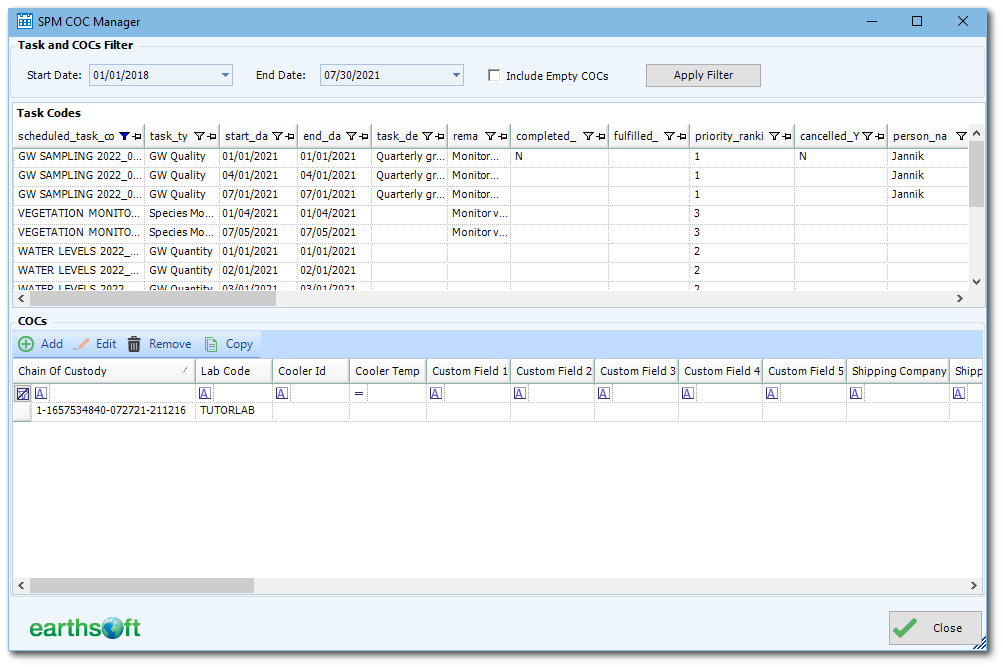
Select COCs from the Plan group on the Plan ribbon to open the SPM COC Manager window.

The SPM COC Manager window has three panes:
•Task and COCs Filter – Allows user to filter the the Task Codes list based on a date range and decide whether or not to Include Empty COCs. Click the Apply Filter button to refresh changes made to these parameters. COCs that are created in this manager but have not yet had samples assigned to them will only appear in the list if the "Include Empty COCs" option is checked.
•Task Codes – Lists Scheduled Task Codes whose start dates will be within the date filters set above.
•COCs – Lists existing COCs that contain samples from task codes listed in the Task Codes pane.
Create a New COC
1.From the COCs pane, click Add.
2.Set a COC ID. Two options are provided to select the identifier of the COC.
a.System ID (default) – SPM will generate a new ID.
b.By User – The user may enter their own ID (e.g., EarthSoft1).
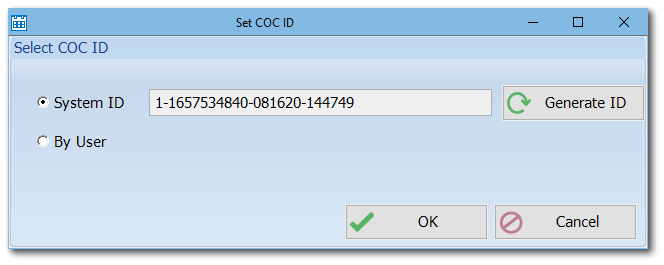
3.Click OK.
4.The SPM COC Edit window opens. It contains three tabs:
•COC Details
•COC Samples
•COC Lab (Read Only)
5.COC Details
a.Select a Lab code and click OK in the lower-right corner. The rest of the fields will become accessible
b.Add other COC detail information as desired.
c.Click OK again to save the COC details.
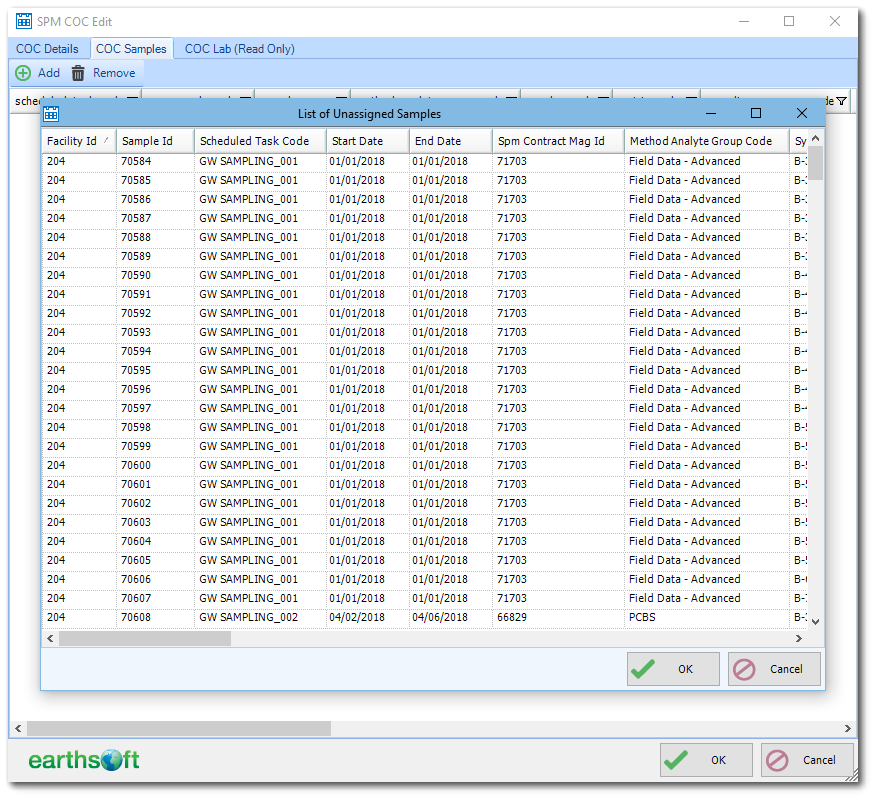
6.COC Samples
a.Click Add.
b.A selection based on the COC Lab Code of unassigned, scheduled, samples will appear.
c.Select the desired samples, to select multiple samples, use CTRL+Click or drag the mouse over a selection of samples. This list can be sorted by clicking any column.
d.Click OK.
e.Repeat as needed until all samples are added to the COC.
7.COC Lab (Read Only) – Review lab information from RT_COMPANY.
8.Click OK.
9.Review the COCs pane for the newly created COC.
a.Clicking Edit with a selected COC will reopen the SPM COC Edit window where changes can be made.
b.Clicking Remove will delete the COC from all SPM tables (use with caution)
10.Click Close to return to the main SPM window.
Copy an Existing COC
1.From the COCs pane, select the COC to be copied and click Copy.
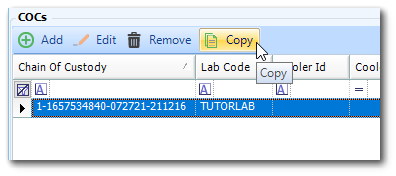
2.The New COC window opens. A New COC name is auto generated, but can be edited by the user. Click the Copy button.
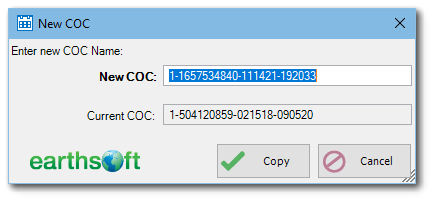
3.The SPM COC Edit window opens. Review the new COC information. Add samples to the COC now or later. Note that if samples are to be added later, this new COC is considered empty and the “Include Empty COCs” check box on the SPM COC Manager window must be checked.
4.Click the OK button twice to save the new COC.
Export COC to an EDGE EDD
SPMs COCs may be included in an EDGE EDD for completion when the sampling event is actually underway or completed.
1.In the main window of SPM, select the Reports ribbon.
2.Click the EDGE EDD icon to open the EDGE Field EDD report (more details on this report in EDGE Field EDD. Select the details for Plan Code, Start Date, End Date, and Task Code.
3.Check the Include SPM COCs for Selected Task parameter.
4.Click the green arrow icon. The selected information is exported to an EDD in Microsoft Excel format. This EDD can be imported into EDGE.
Note: To export the COC from SPM requires the EDGE format license (in addition to an SPM license). |
Exporting COC to Microsoft Excel
Before COCs may be exported from SPM, a COC Template must be uploaded to EQuIS. Instructions on how to do this are found here: Import a COC Template for COC Report.
From the Reports ribbon:
1.Click COC Report.
2.Select the plan, task and COC from the report parameters.
3.Under Choose COC Template, select a template that has been previously uploaded to EQuIS.
4.Click the green arrow icon to run the report. The pre-populated COC opens in Microsoft Excel.
If the COC template has been configured to "Save as PDF", the Excel file will immediately generate a PDF copy of the COC. Instructions on how to configure the COC template: COC Setup Sheet.