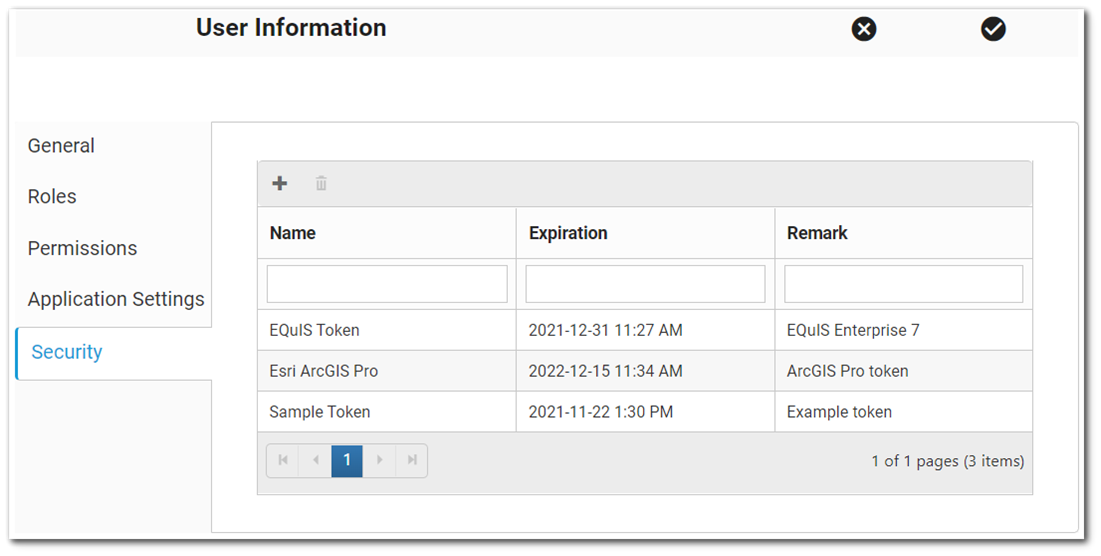
The Security tab of the User Profile Editor displays a grid of REST API tokens that have been created by the user, plus the option to generate new tokens and delete existing tokens. Note that users are only able to create their own tokens (including administrators), and users must be assigned to the REST API role in the Roles tab. The Security tab is not displayed for users who are not assigned to the REST API role.

Create New Token
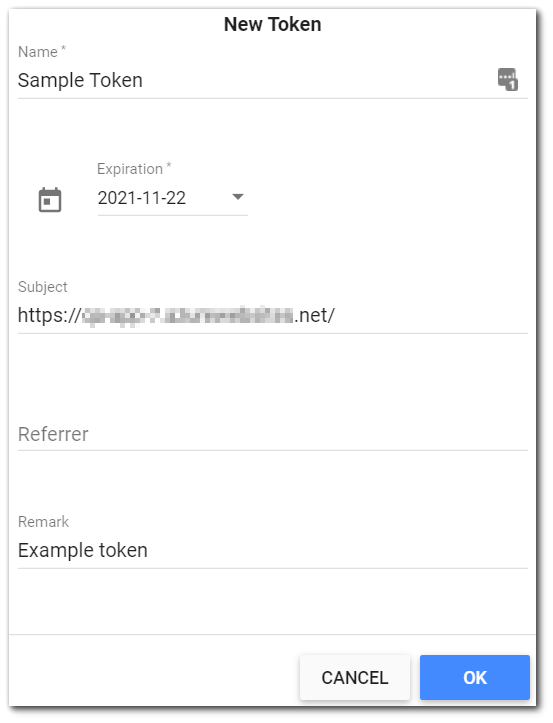
To generate a new token, click the Add ![]() icon on the top of the view grid frame. This opens a New Token dialog window for creating a new token.
icon on the top of the view grid frame. This opens a New Token dialog window for creating a new token.

Name – The name of the token. This value is required (i.e., may not be null) and is immutable (i.e., cannot be changed after the token is created).
Expiration – The expiration date and time for the token. The date value is displayed as YYYY-MM-DD (ISO 8601 standard) and the time value is displayed as 12-hour or 24-hour depending on the user’s cultural settings. This value is required and is set to two weeks from the date the token is generated by default. The time stamp value displayed in the grid of tokens corresponds with the time of day the token was created. The minimum expiration time frame that a token can be set to expire in is one day from the date the token is generated. Note that setting the expiration date to 2038-01-19 or later creates an invalid token due to a known Microsoft limitation.
Subject – The Subject field allows a token to be restricted to an absolute Uniform Resource Identifier (URI) path, making the token more secure by limiting where it can be used. The field is populated with the base URI of the site being used to create the token (e.g., https://www.tokenexample.com/) by default, but is not required to create a token, can be blank, and is not displayed in the grid of tokens. If the base URI is unchanged, the token will be valid for the entire URI site. If the token’s subject is updated to be more specific (e.g., https://www.tokenexample.com/locations), the token would be limited to the URI’s “locations” resource.
Referrer – The Referrer field is optional and is not displayed in the grid of tokens. The entered value is used to limit token validation to “Referrer” domains that end with the given value. The value is embedded in the token and is not accessible to the user. If the Referrer field is left blank, the token is valid for all referrers.
Remark – A field for the user to add a comment about the token. Text added in this field is displayed in the grid of tokens.
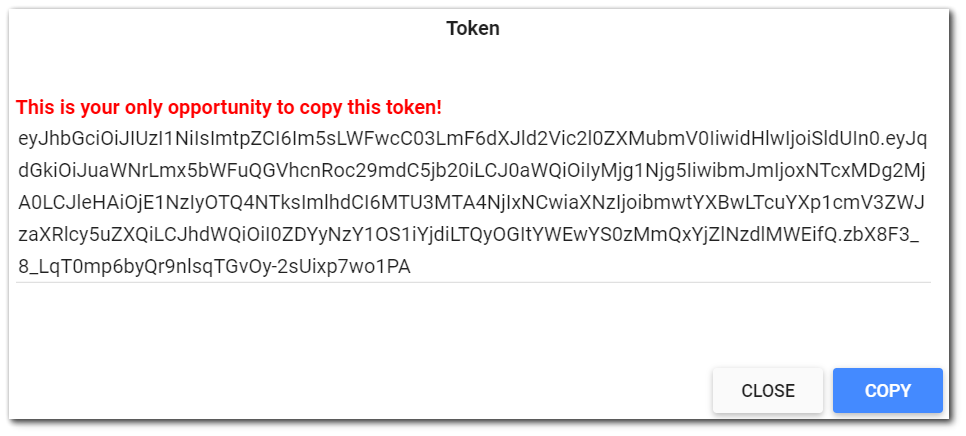
After the user fills out the form with, at a minimum, the required fields populated, clicking the OK button brings up a dialog window displaying the token value. It is important to know that this is the only opportunity to view and copy the token value. Click the Copy button to automatically highlight and copy the token value so it can be used in the necessary application. The Close button will close the modal and add the token as a new record in the grid.

Warning: After a new token has been generated, there is only one opportunity to copy the token value. After closing the Token dialog window, a record will be added to the token grid, but the token value will not be accessible. |
Delete a Token
To deactivate a token, select the token and click the ![]() icon on the top of the view grid frame of the Security tab grid. This will delete the token from the Security tab grid and disables the token for the user.
icon on the top of the view grid frame of the Security tab grid. This will delete the token from the Security tab grid and disables the token for the user.